 | ||||||

Custom Fine Furniture by Alan Young
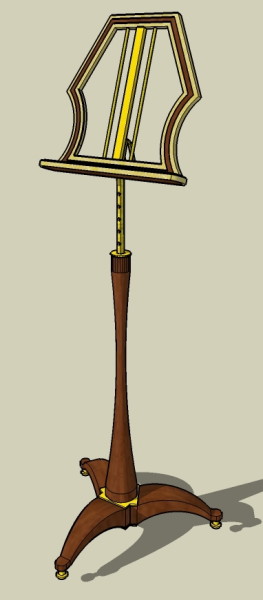
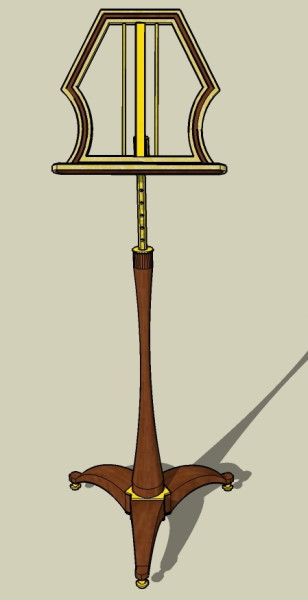
I am working on a new Music Stand design.
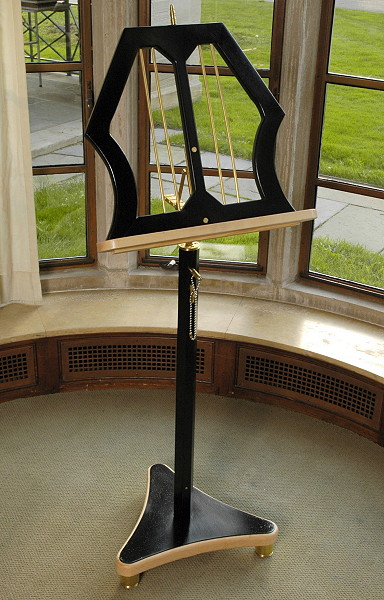
This is a compilation of two previous pieces including this music stand I built in 2007
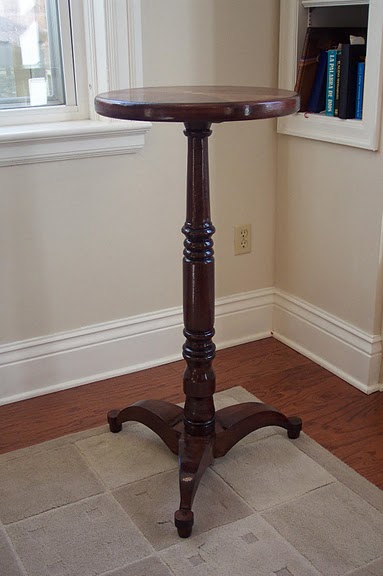
and this Tea Table that I finished just a few months ago.
I admit that I have omitted taking pictures along the way that would fill -in the gaps to the story but I hope most of the steps will be clear.
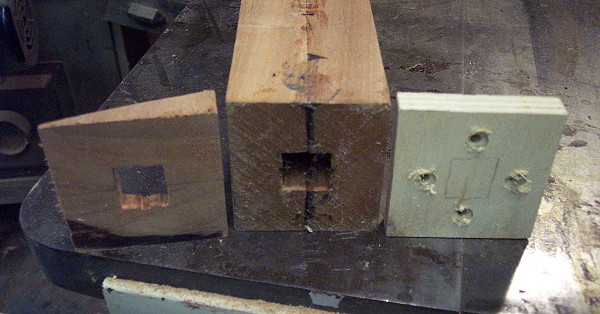
The center post started as two pieces of Sapele
Before the pieces were glued together, I ran a groove down the middle of each piece that when glued together would yield an opening that measures 3/4" x 7/8".
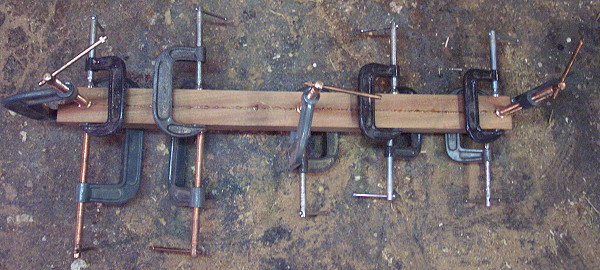
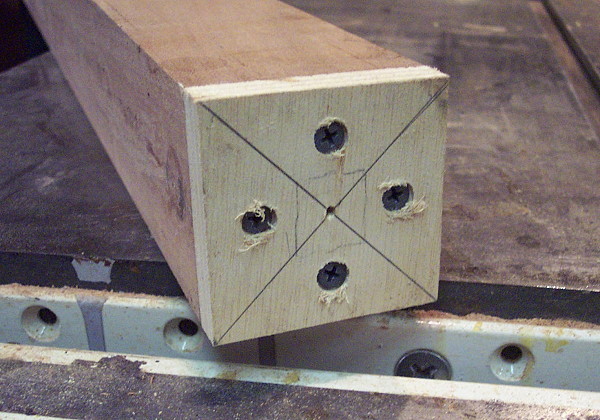
After the pieces were glued, I screwed plywood blocks on each end so I could center the post for turning on my lathe.
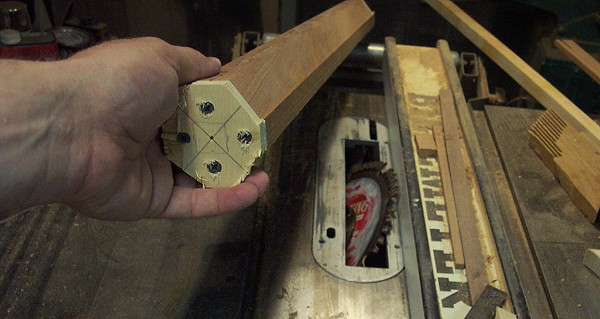
Before turning the glue-up I first knocked off the corners on the table saw.

I don't have a centering steady rest for my lathe and when I tried to turn the narrow section in the middle there was just too much "wobble" so I deviated from the profile of my original drawing. I sort of made up the profile as I went along... here's the result.
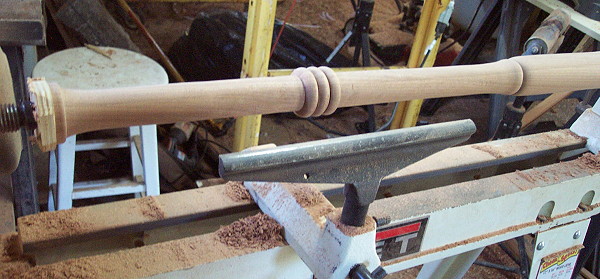
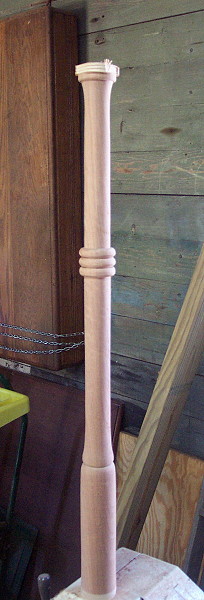
Looks like an odd baseball bat.
I may add some vertical fluting to this later. we'll see....
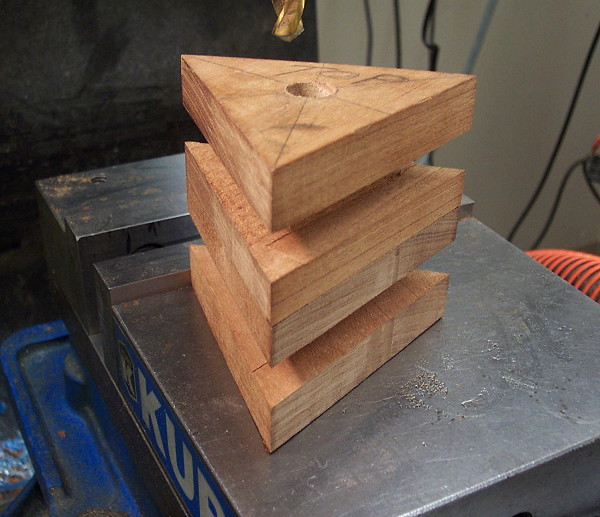
The legs are joined in the middle with a triangular piece aprox 3.5" along the sides and 3" thick- double loose tenon joinery.
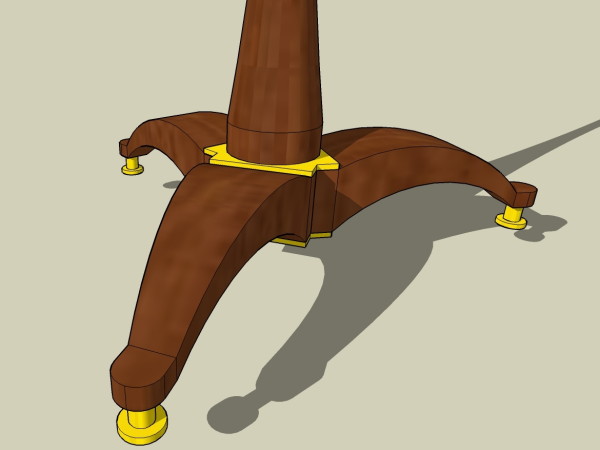
The base will be made from three blocks of Sapele aprox 4x4x11.5.
A 1/2" hole is drilled in the center of the triangular block. This will allow for a 1/2-13 threaded rod to run from the center post through the block.
Here is the center triangular block. Sorry I didn't take any pictures of it's fabrication- I cut two equilateral triangles out of Sapele and glued them together. In my Tea Table I cut the grooves for this piece on the table saw. For this music stand I cut the grooves on a milling machine.
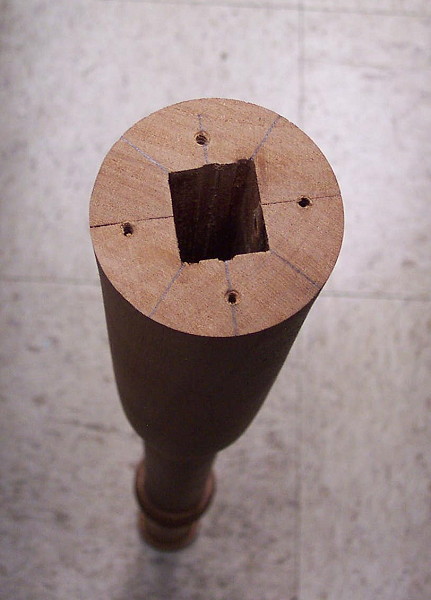
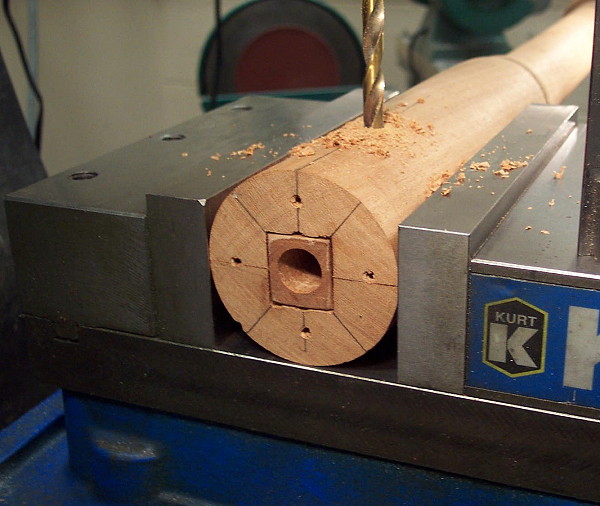
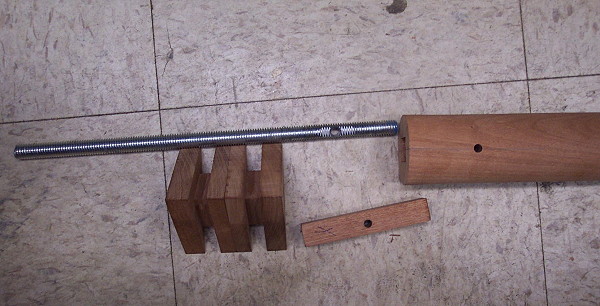
Here is the bottom end of the center turned post and the rectangular opening left for the long brass post that will allow for vertical height adjustments.
This end however needs a plug that fills the opening but still has a 1/2 hole for the threaded rod. I cut the basic shape of the plug using a bandsaw, then sized it and drilled the hole on the mill...
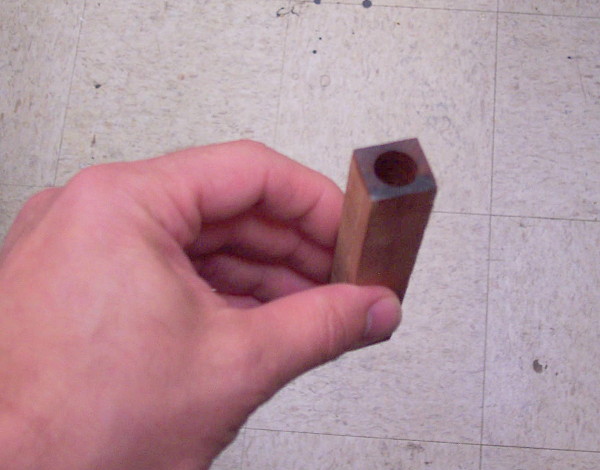
The plug will set tightly but not be glued into the end of the post. Here is a test fit.
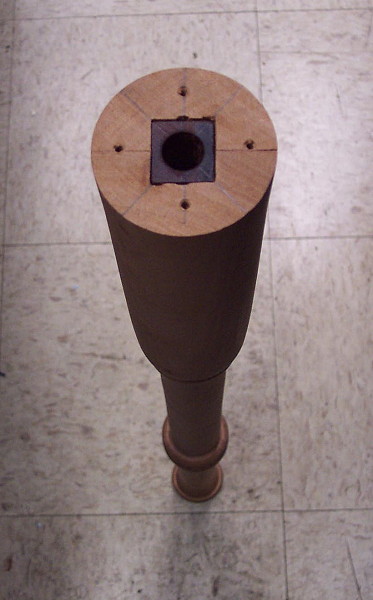
The 1/2-13 threaded rod that will be used to fasten the center post to the triangular block will have a perpendicular 1/4" hole drilled through it as will the center post. A brass rod will run through all three pieces allowing the base to be tightened to the rod while the rod remains fixed in the post. Here's how it works.....
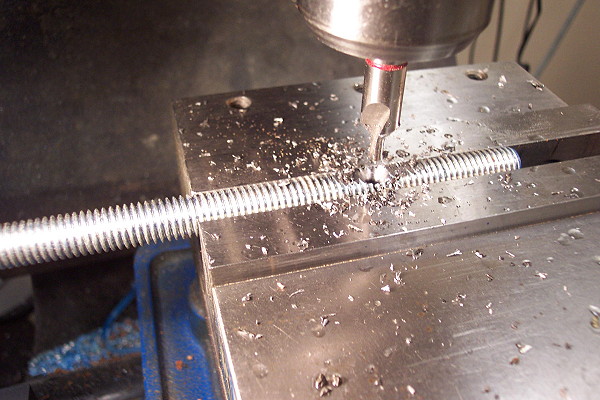
First I filed a flat section on the rod
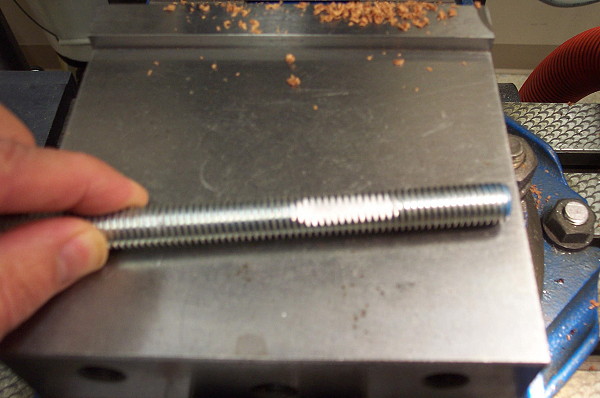
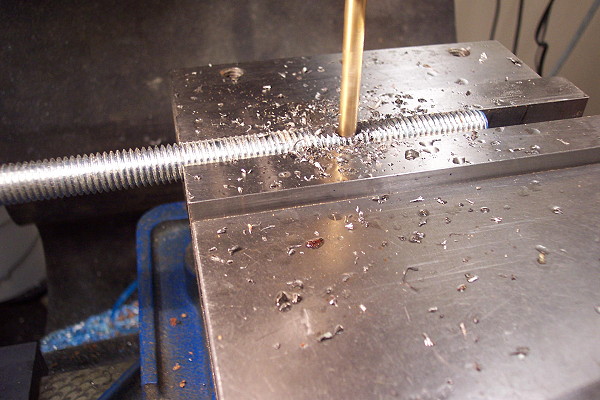
Then I drilled a 1/4" hole two inches from the end of the rod.
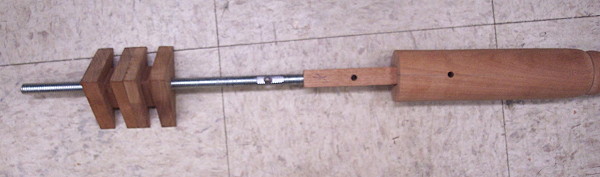
Now I need to drill a matching hole through the plug and center post.
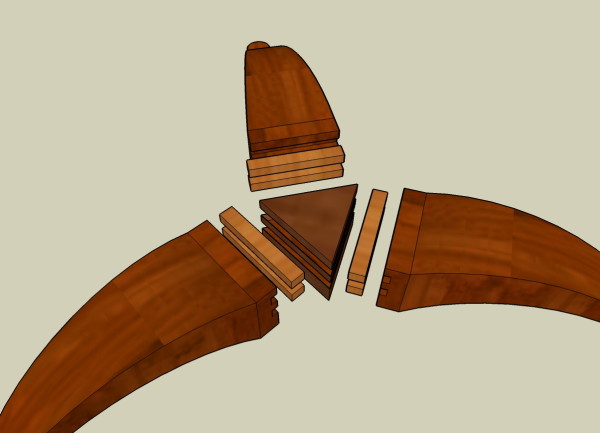
Here are the main pieces of humpty dumpty....
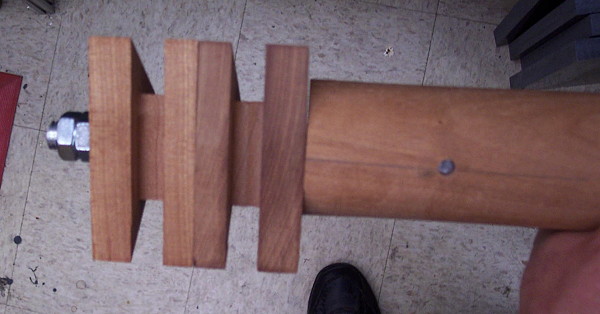
After all the pieces were assembled I plugged the cross hole with a section of a 1/4-20 machine screw. Now I can place a 1/2" nut on the other end of the rod and tightened the entire assembly.
The final assembly will have a brass rod that will be just shallow of both sides when it is set in the hole.
From this point I am ready to cut matching grooves in the blocks for the three legs, then cut their general shapes on the band saw then finalize their profiles and glue them to the center block.....

On to: