 | ||||||

Custom Fine Furniture by Alan Young
| ||||||
Custom Fine Furniture by Alan Young
Woodward Woodworks
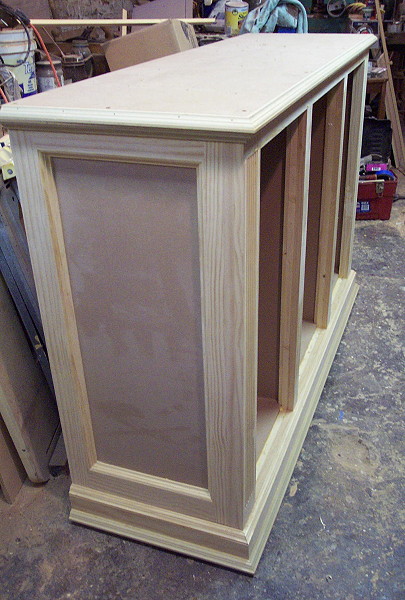
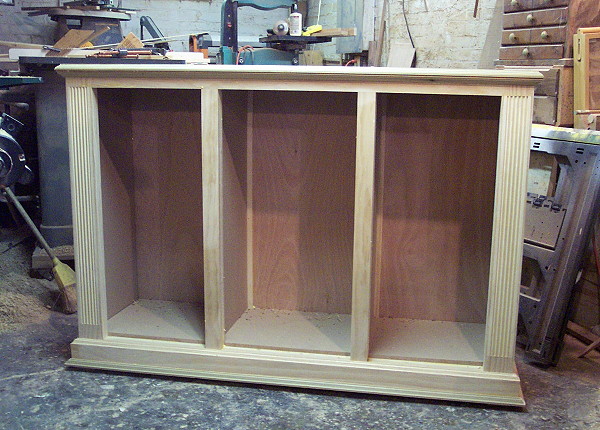
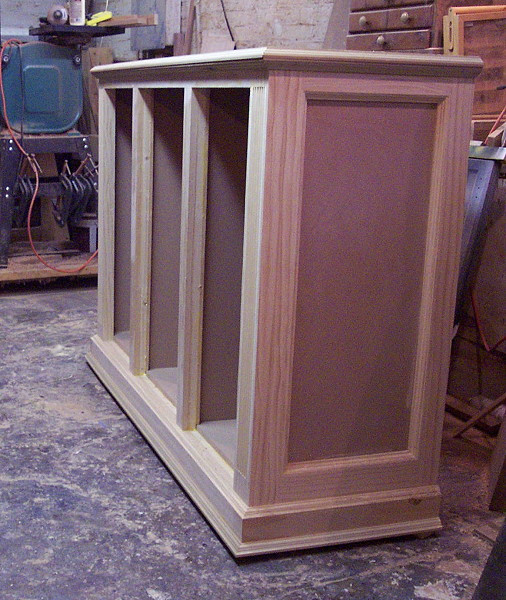
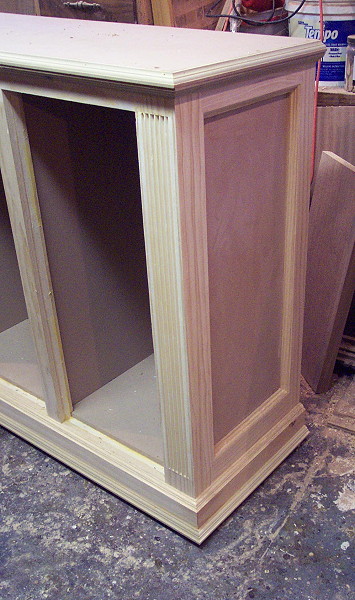
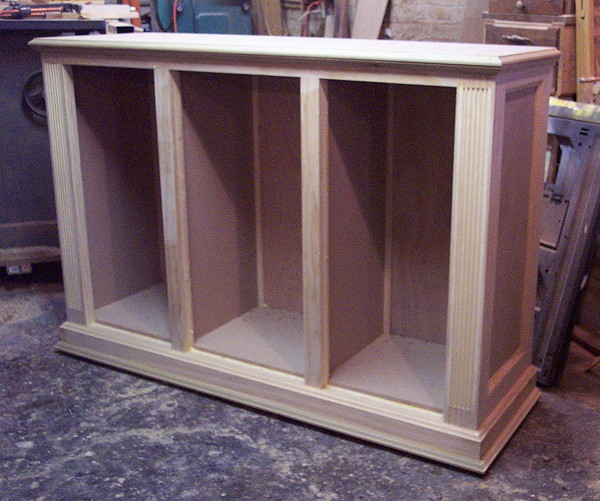
Fabrication begins with the lower cabinet section of the left case.
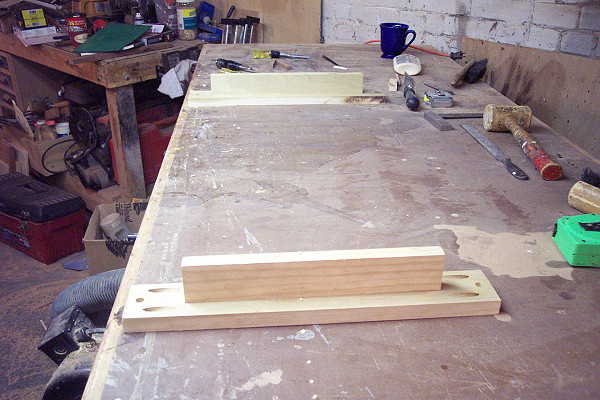
I did not take very many shots as I was moving along. Here are some pictures of the lower case with most fabrication completed.
It just needs the molding around the door frames.
I will add that when I reach the same stage for the upper cabinet and can mill the molding in one stage.
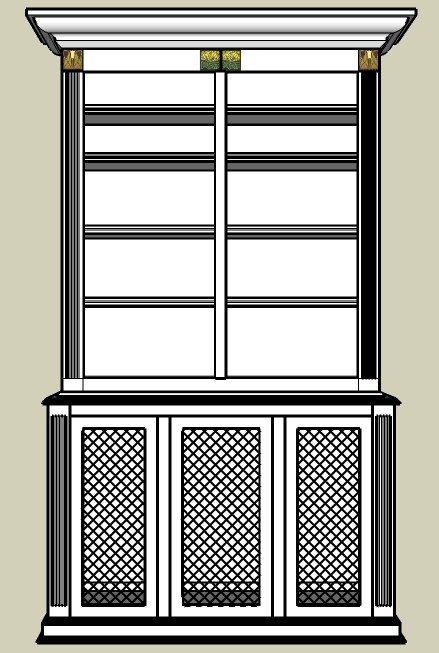
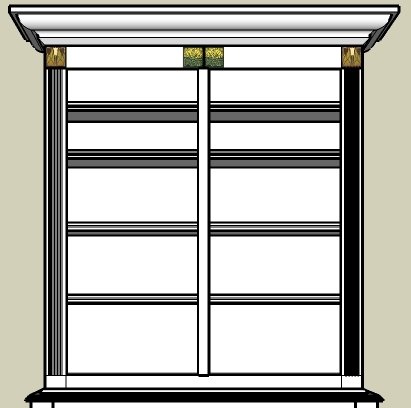
I am moving on to the upper case for the next round of work.
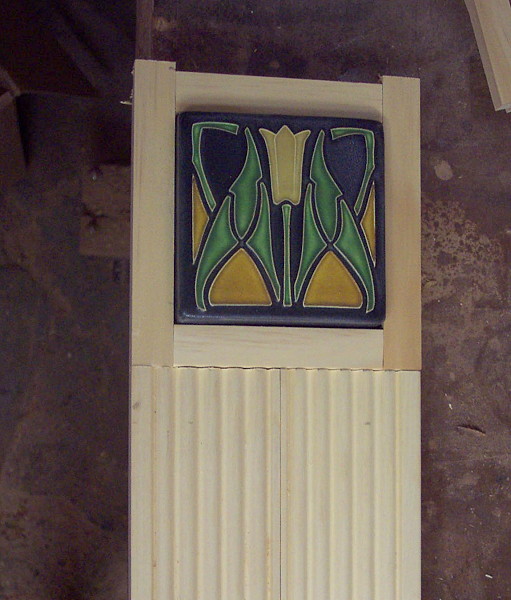
I'll begin by "framing" the tiles in the reeded front face frames.
I want most of the tile profile to be seen but it will need some frame work for support beyond the grout.
Here's the look I'll be after---triming will come later...
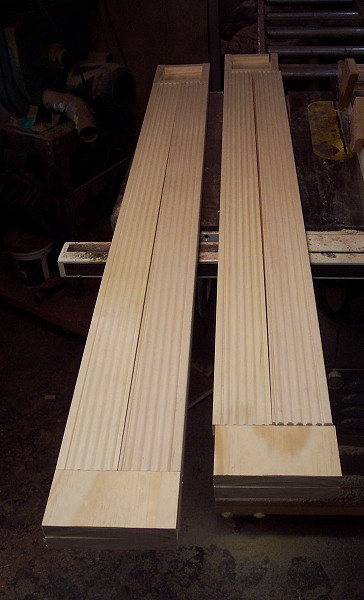
The reeded frame pieces are made in two layers .
The lower or back layer is a flat piece of 3/4" stock.
For the top or front layer, I ripped and book matched stock to glue up to the same over-all width.
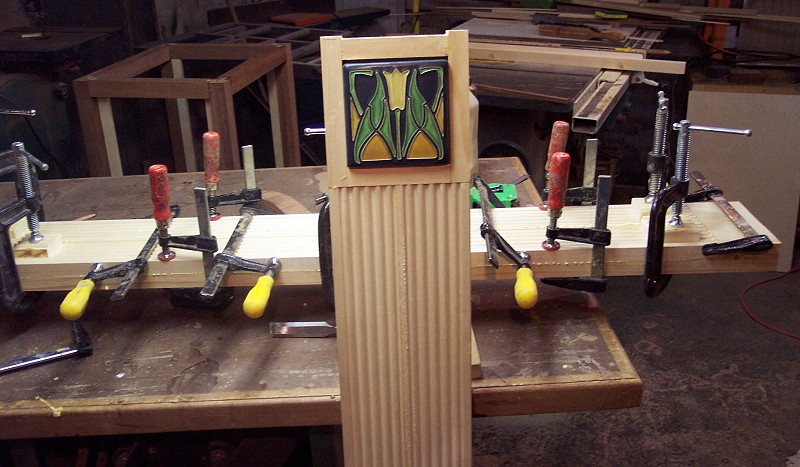
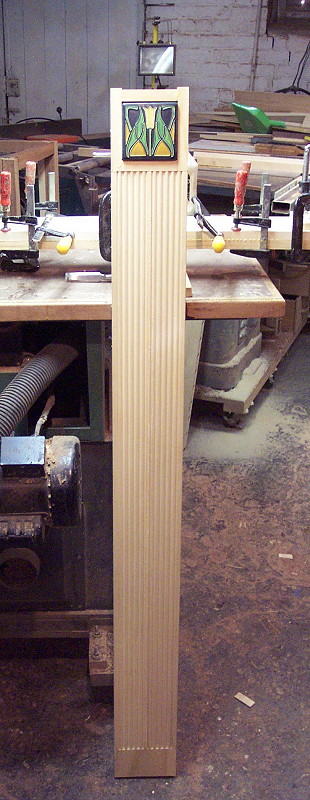
A plinth at the base and a 3/4" frame at the top will complete each piece
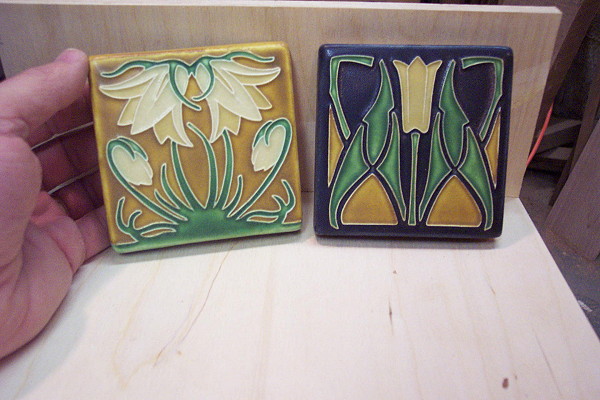
Each bookcase will use four handcrafted tiles from Motawi Tiles The tiles are 4" square and aprox 1/2 in thick.
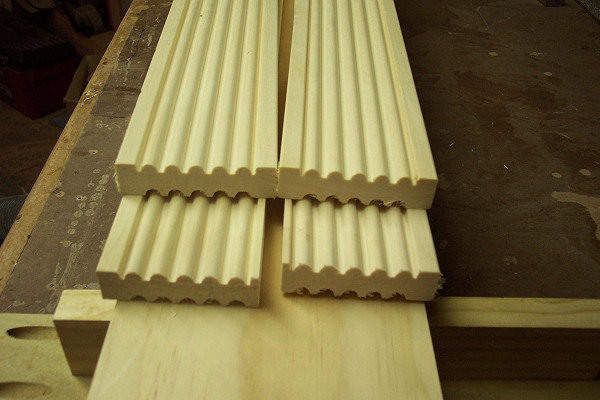
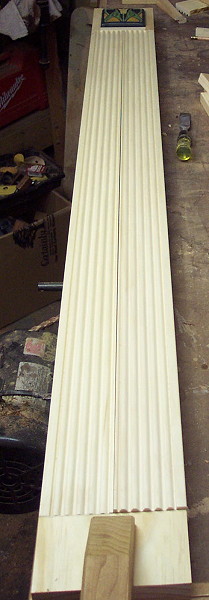
Let's take a look at the molding. The stock comes milled on two sides-reeded or fluted as per choice.
I'll be using the reeded side out.
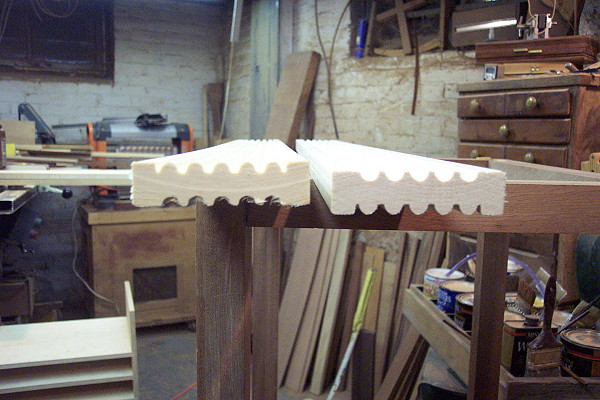
If I edge glue these pieces togther they are about 1/4 inch wider than the backer, so I ripped about 1/8th of an inch off one side.
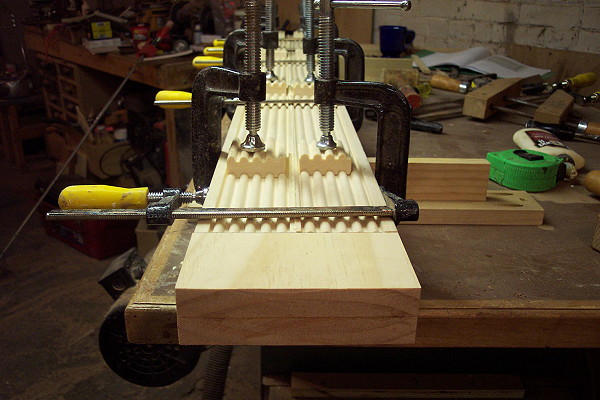
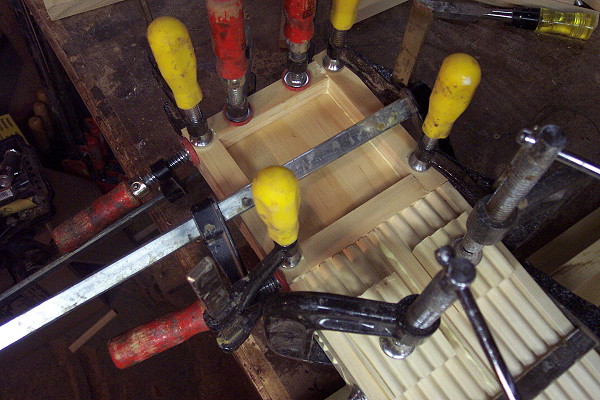
Lets glue it up....
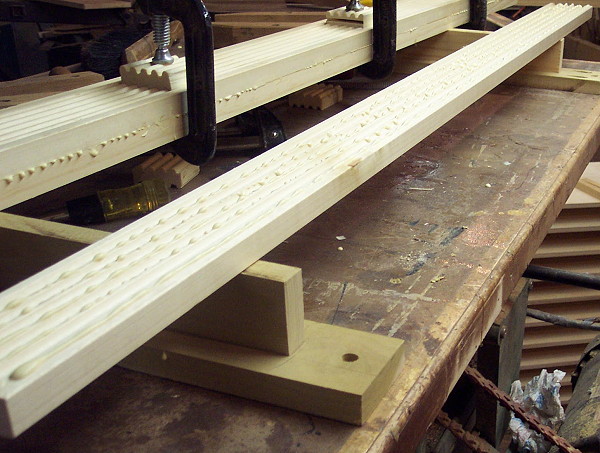
Until I break down and built a Frank Klauz workbench I have the luxury of beating up on this one.
I cobbled together a couple of scraps of poplar to make these handy risers. They are screwed to the bench.
I ran a bead of glue down the contact edges of the back side.
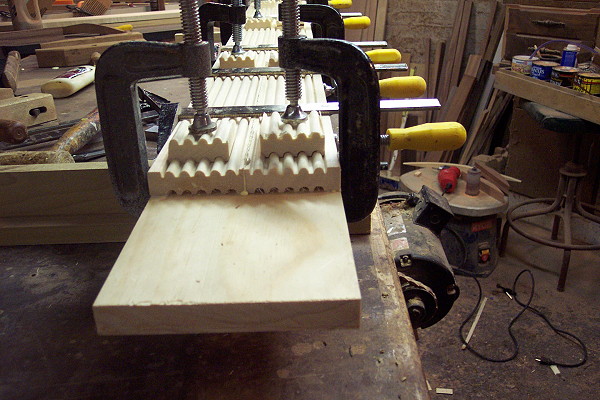
I took advantage of the dual profile of this molding by cuting off small sections and using the reverse profile as clamping blocks
3/4" stock frames out the tile location at the top.
A bit of glue clean-up and triming otherwise
One down three to go.....